How to Make Birdseed Ornaments
by Lori Waryanka
February 17, 2021
Five inches of the white stuff and then a couple of days later there’s an additional 4 inches of snow blanketing our yard. While my husband revved up the snowblower and started down the driveway, a red bird darted from the barren crabapple tree in the front yard and gave me a reason to stay inside. Whipping up a batch of birdseed ornaments is the perfect project for this winter day.
We’ve been making birdseed ornaments with gelatin since my son was in Cub Scouts, as the recipe is more than kid-friendly and, honestly, kind of fun to make. Sure, loading up the bird feeder off the back deck is a given during the winter months when our feathered friends are desperate for a handout. But, making this fun-shaped food supply is a perfect activity for enlisting the help of the youngsters.
Entertaining and Educational
Here in Pennsylvania, up to 35 bird species are easily spotted at backyard feeders during the winter months, according to the Penn State Extension’s website, when natural food sources have diminished.
Watching the birds through a window can be fascinating for children. Take note of the different shapes and colors of the visitors who feast on your birdseed ornaments then look online or in a book from the library to identify and learn which seeds they prefer to eat.
Supplies and Ingredients
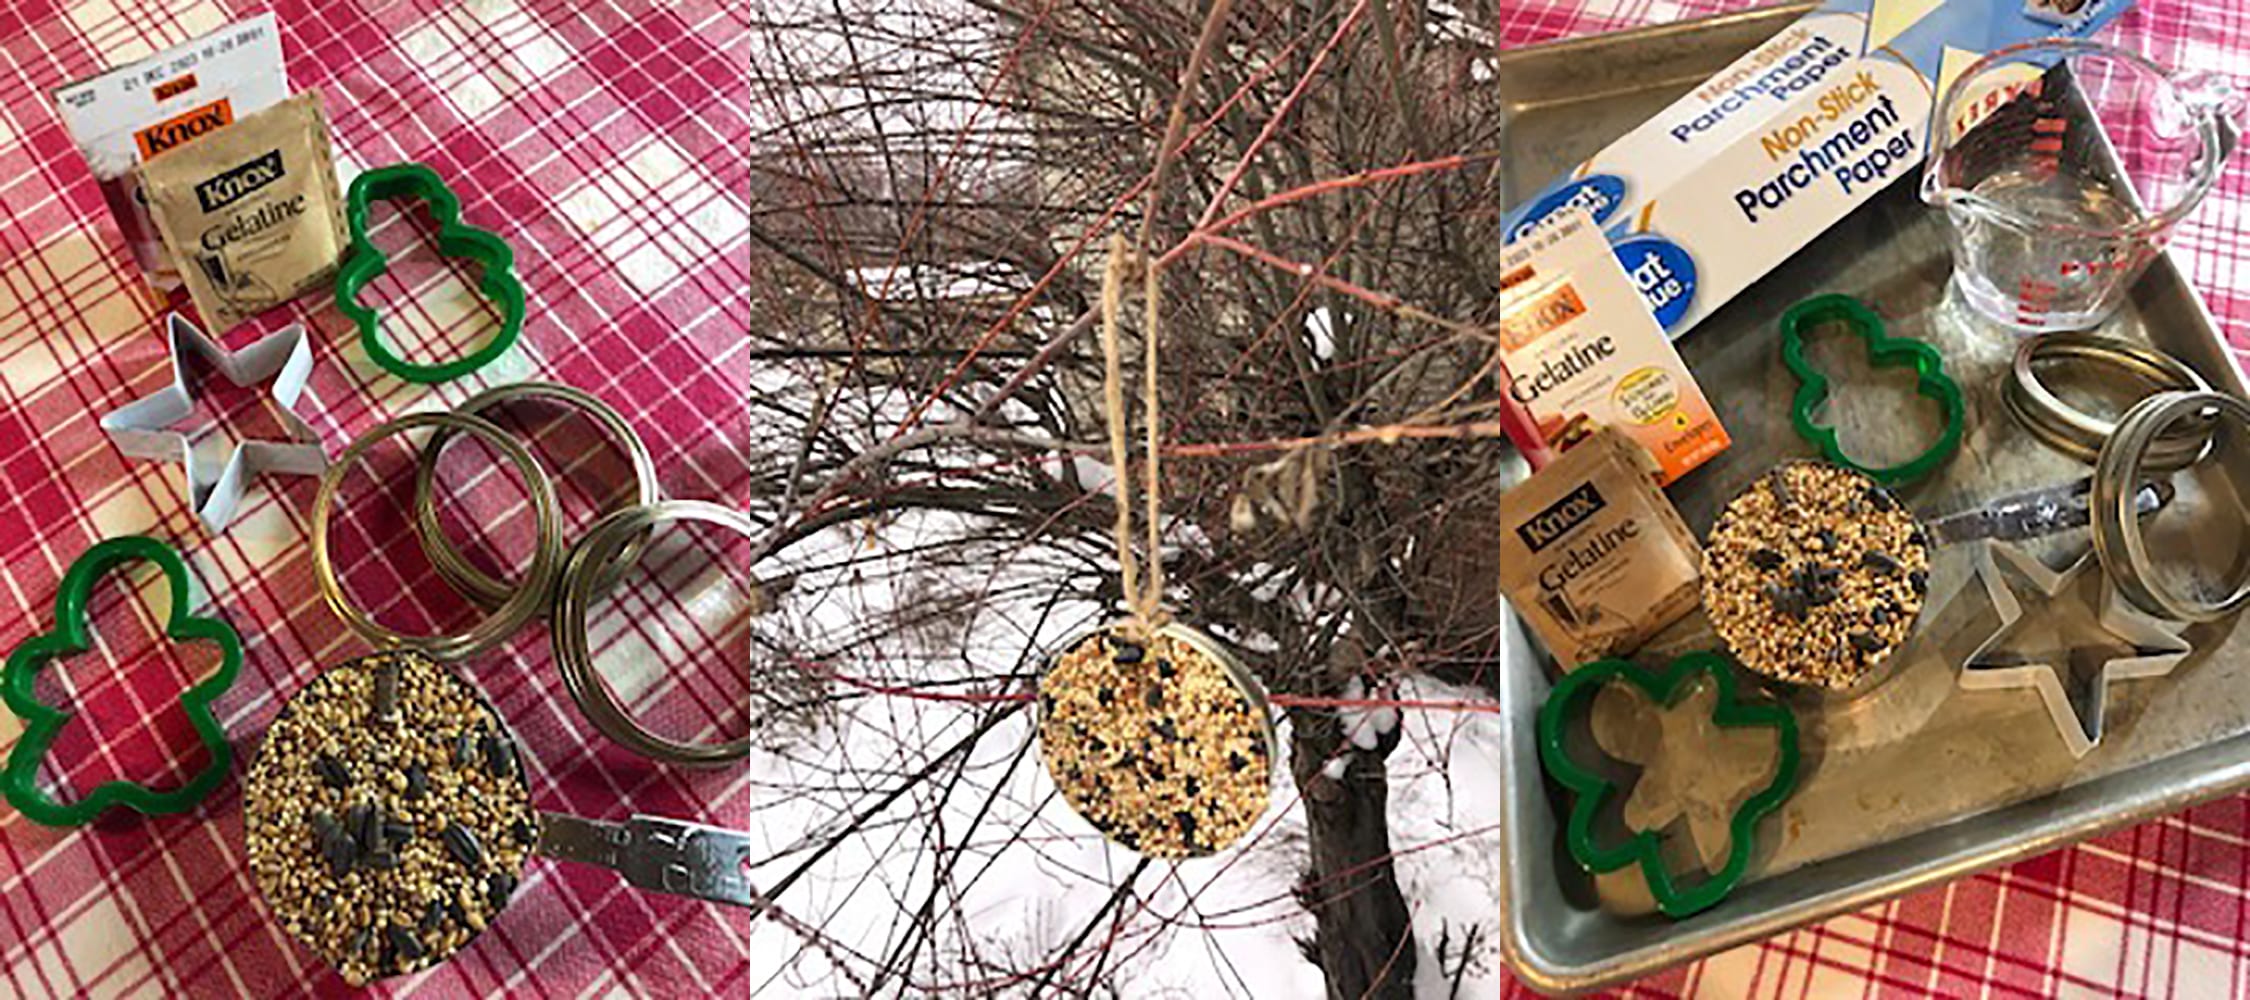
Aside from purchasing the wild bird feed, there’s just one more ingredient you’ll need to get from the store — unflavored gelatin. It’s sold in a box containing four individual packets. So the cost of supplies is minimal if you already have cookie cutters, a couple of straws, and twine or ribbon.
You can use either plastic or metal cookie cutters, each works just as fine as the other. A few years back I began repurposing metal Mason jar rings as forms for this project. They collect in a basket in my kitchen throughout the winter months after I open jars of fruits and vegetables that my
Dad canned at the end of the previous year’s growing season. In fact, these rings have given me a shortcut in the process, and I’ve taken to not even removing the ornaments from the rings. I hang them in my trees with the rings attached, giving the ornaments a little more structure.
Straws cut into approximate two-inch pieces are the best tool for making the holes needed to accommodate either twine, ribbon or kitchen string for hanging. About an 8-inch length should be used here so there’s enough slack to tie off and create a loop for placing over a bush or tree branch.
Other Items You’ll Need
- twine, string or ribbon cut to about 8-inch pieces
- cookie cutters
- straws
- a sheet pan lined with parchment or wax paper
- non-stick cooking spray to coat the inside of your cookie cutters
- a bowl (I prefer glass or ceramic)
- some metal or plastic spoons
Recipe for Birdseed Ornaments with Gelatin
(Makes approximately 6 ornaments)
2 cups mixed birdseed
2 packets unflavored gelatin, 7 grams each
1/2 cup water
- Place two cups of birdseed into a large bowl. Boil water in a small metal pot and remove from heat source.
- Add both packets of gelatin and stir until completely dissolved — this takes a little longer than you may think and is important so this mix will coat the seeds evenly.
- Pour the gelatin water over the birdseed and stir well. Set the mixture aside for at least 20 minutes and allow it to cool. You may place it in the refrigerator to speed the process.
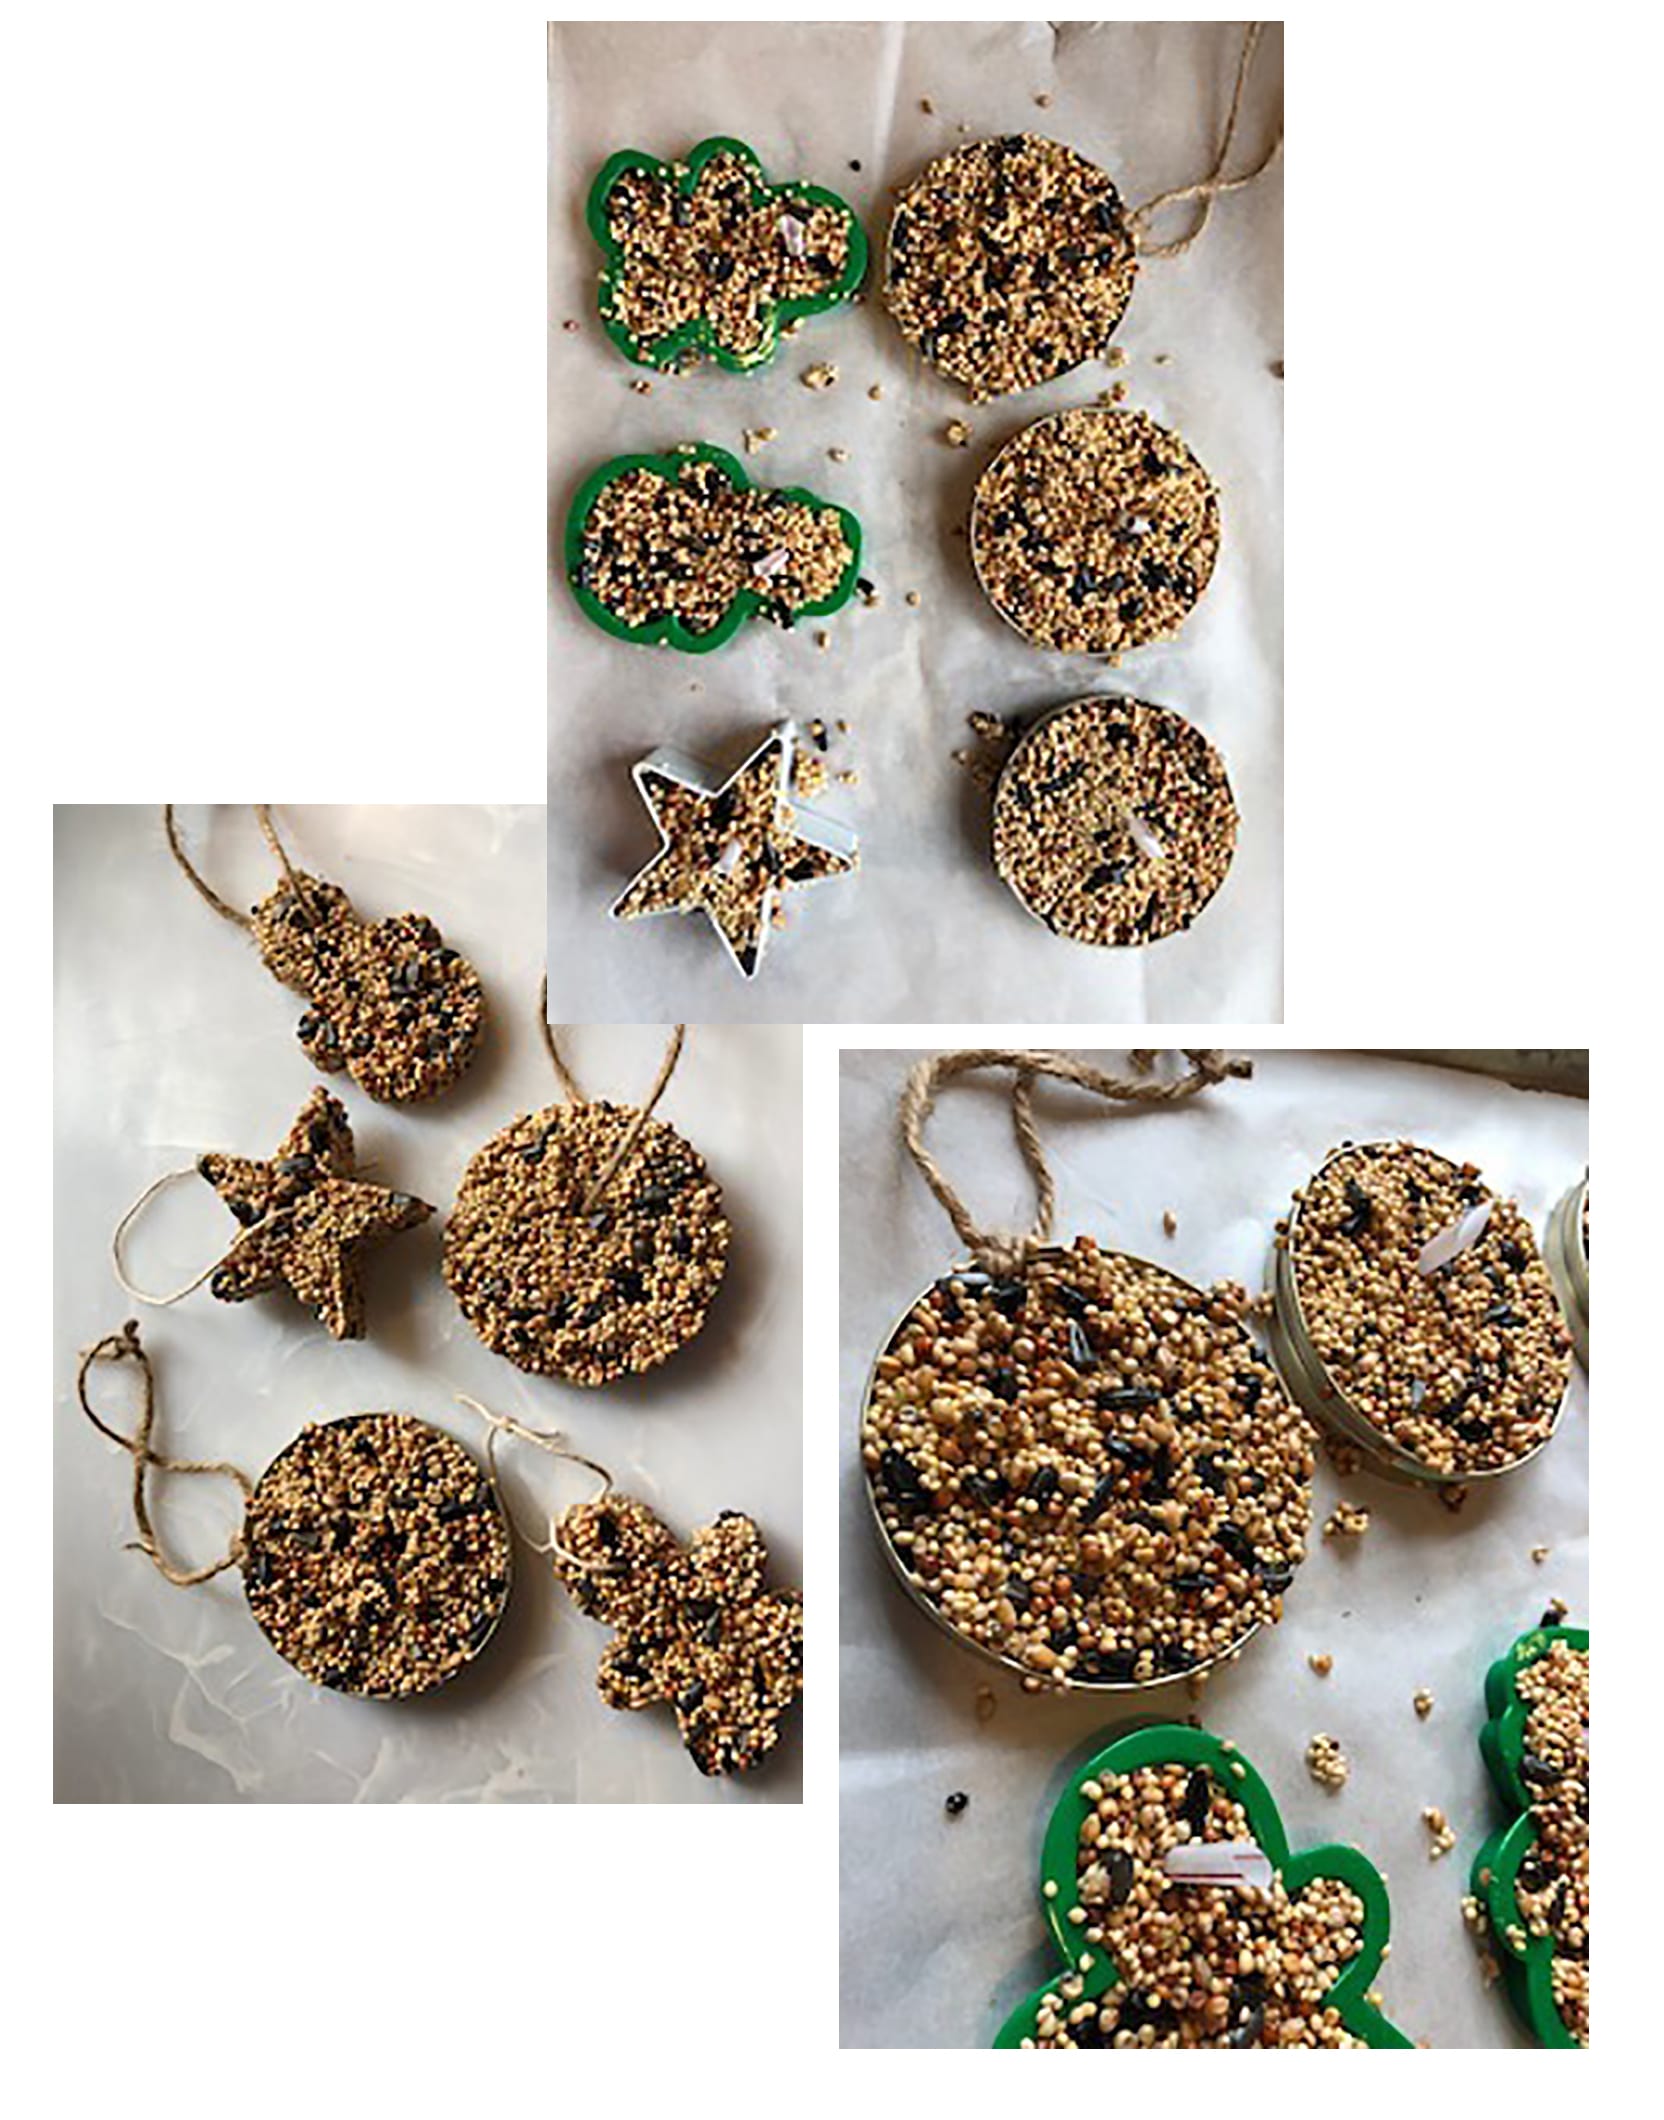
- While that’s cooling, line a baking sheet with parchment paper. Spoon the birdseed mixture into each form. Press firmly with the back of the spoon to pack the seeds into the form.Push a piece of straw into each mold to create a hole and leave the straw in place until the ornament has hardened.
- Once complete, place the sheet pan with ornaments in a cool and dry spot in your house. I always defer to the attached garage where the temperature is perfect for encouraging the gelatin to set. Please wait 24 hours before removing them from their molds. They may seem like they harden sooner, but a full day allows for all moisture to evaporate and result in a sturdy product.
- Pull the straws from the ornaments before removing them from the cookie cutters. I like to use a butter knife to gently nudge the ornaments from their molds, much like I run a knife around a pan of baked brownies before cutting and serving.
- Guide the twine or ribbon through the holes and knot. Hang on a sturdy brand, nail or post outside.
Storing or Gift-Giving
If you don’t want to immediately hang your ornaments outside, there are a few things to know about storage. Birdseed ornaments with gelatin can mold if placed in airtight containers or plastic bags. Store in a cardboard box or paper bag. If using a plastic bag for gift giving, simply cut a few holes to allow for airflow.
Leave A Comment